This is a quick guide for getting started with your new plugin.
Step 1
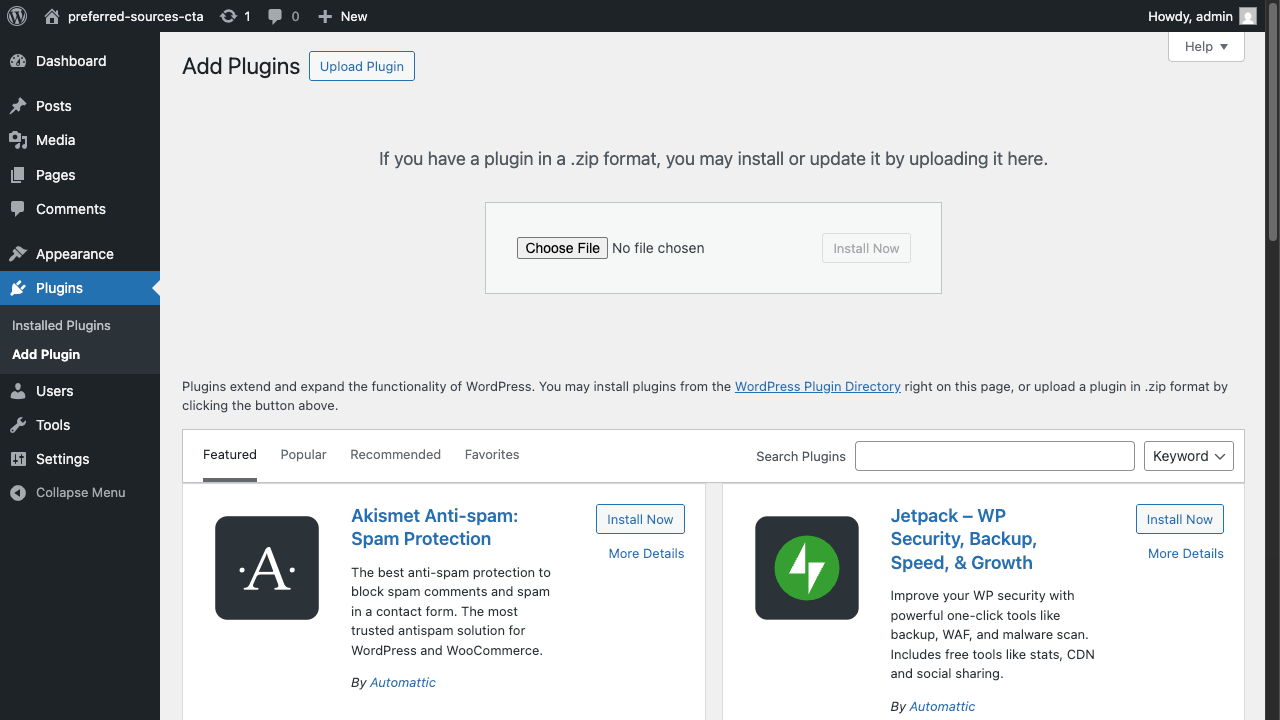
After purchasing the plugin, you will need to install it. The download provided at purchase is a zip file. In your WordPress admin dashboard:
- Go to plugins
- Add plugins
- Upload plugins
- Select the zip file
- Install and Activate
Step 2
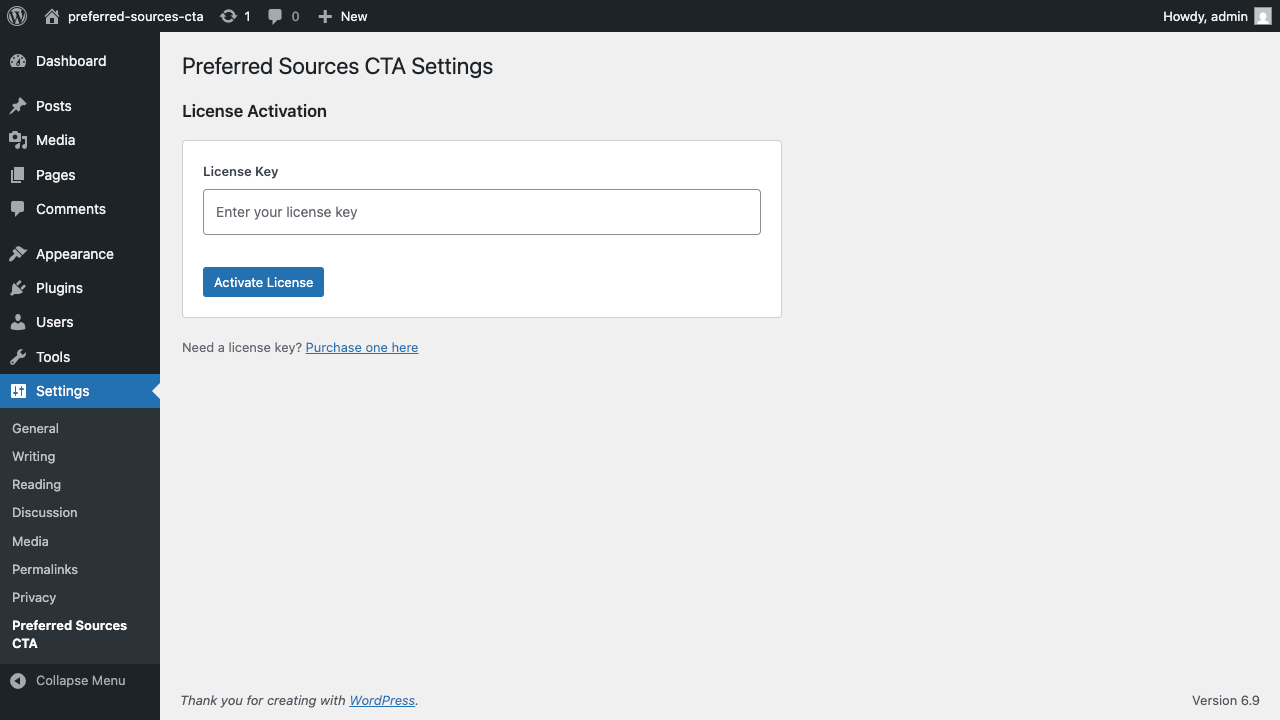
After installing the plugin, you need to activate it. In your WordPress admin dashboard:
- Navigate to settings
- Select Preferred Sources CTA
- Enter the license you received in your receipt
- Click the Activate button
Step 3
Getting started is quick and only requires a few customizations. By default, your blogs URL should be set. If it’s not, you can add it here.
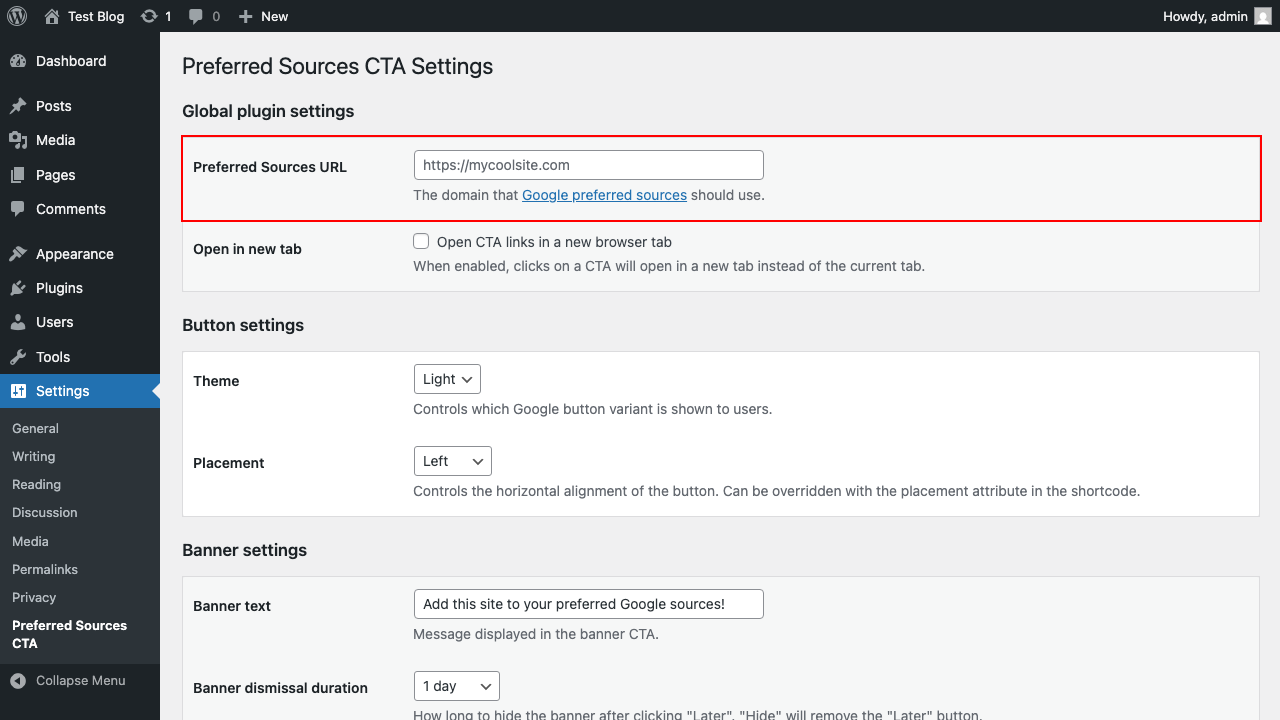
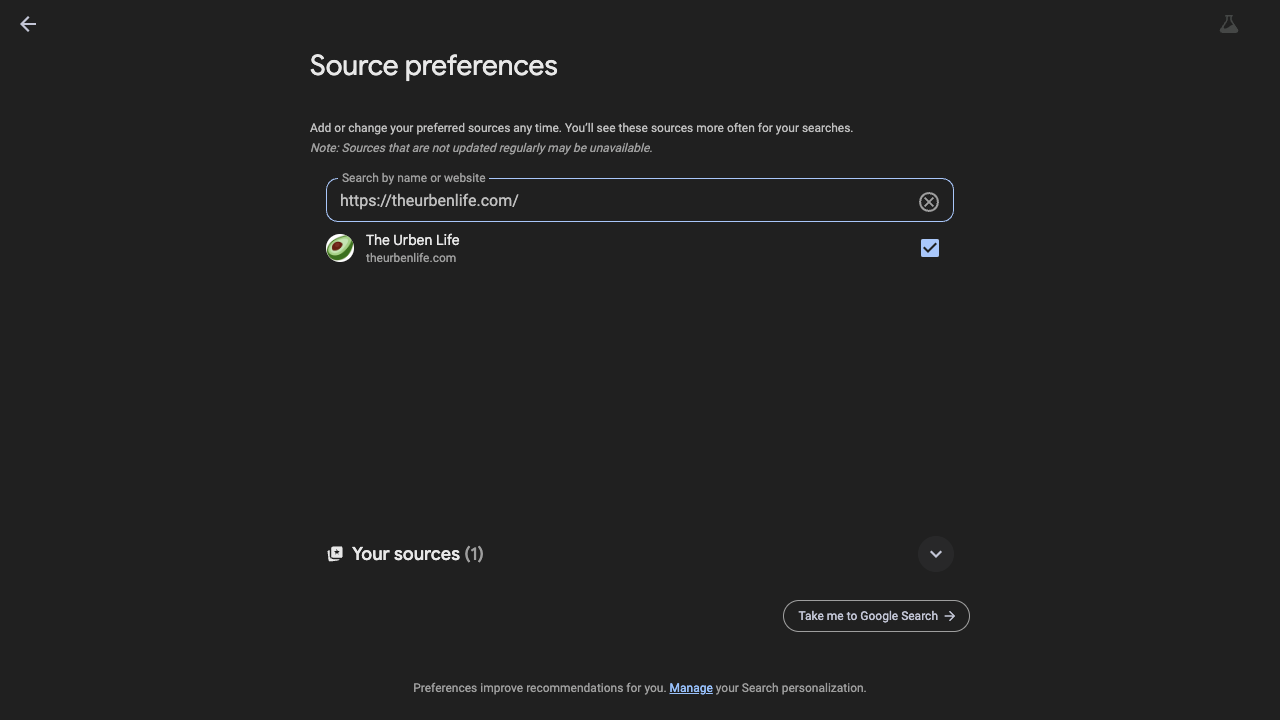
This is used to prepopulate the Google sources site when each CTA is clicked.
Step 4
CTAs can be added to your blog in two ways, manual and automatic.
Manual
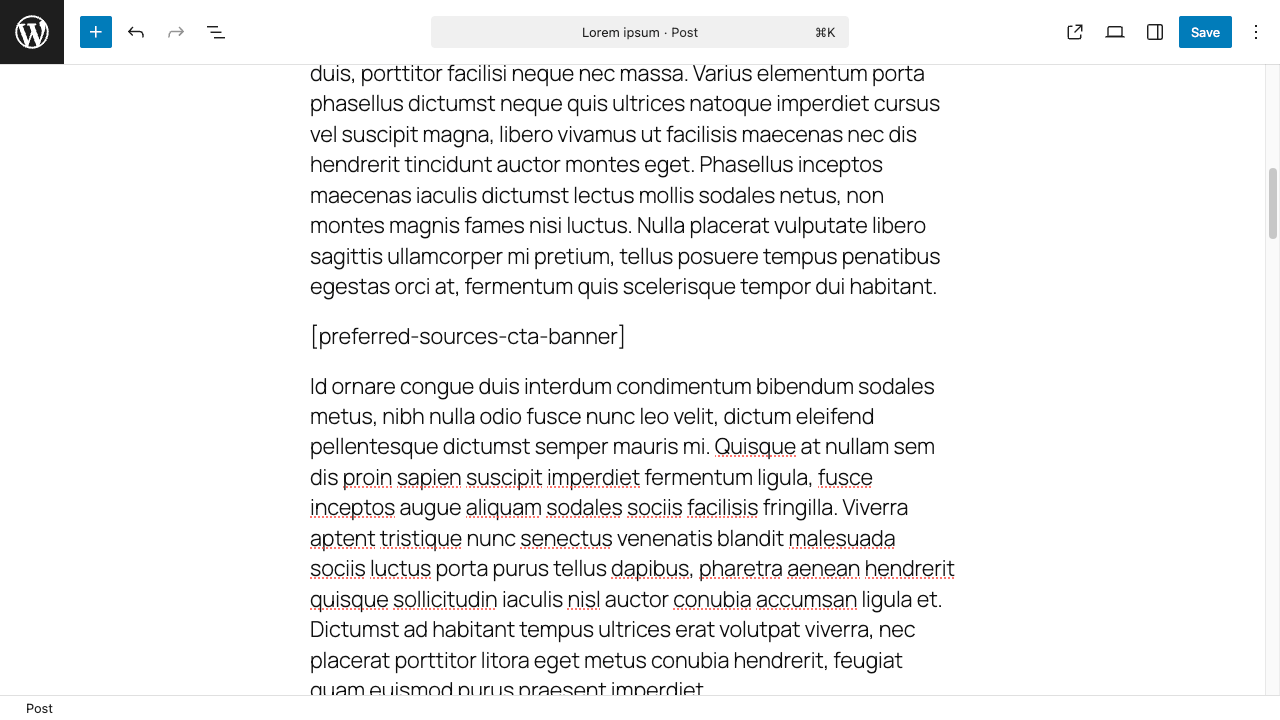
To manually add a CTA, you can use either shortcode:
[preferred-sources-cta-banner][preferred-sources-cta-button]
If you are unfamiliar with shortcodes, you type them as you would with any other text on a post or when editing your blog.
Automatic
Rather than updating each of your posts, the auto display settings will show either CTA in all of your posts, without impacting the modify date or requiring manual updates.
There are multiple selector methods which use the HTML structure of the page by default. When enabled, the CTA will be placed above the first paragraph. This customization process can target virtually any content on the page. It’s best to use a common selector available on every post (i.e. before or after a specific paragraph).

Step 5
If you have a cache plugin (WP Rocket, W3 Total Cache, WP Super Cache, etc.), clear your blog cache to view your new CTA!